CorelDraw Tutorial: UFO Light Beam Effect
Discover how to create a stunning UFO light beam effect in this CorelDraw Tutorial using non-destructive bitmap effects. Learn to import images, draw shapes, and apply effects like Gaussian blur and lighting for a glowing finish, all while preserving your original image.
CORELDRAW TUTORIAL
2 min read

CorelDraw Tutorial: Non-Destructive Bitmap Effects
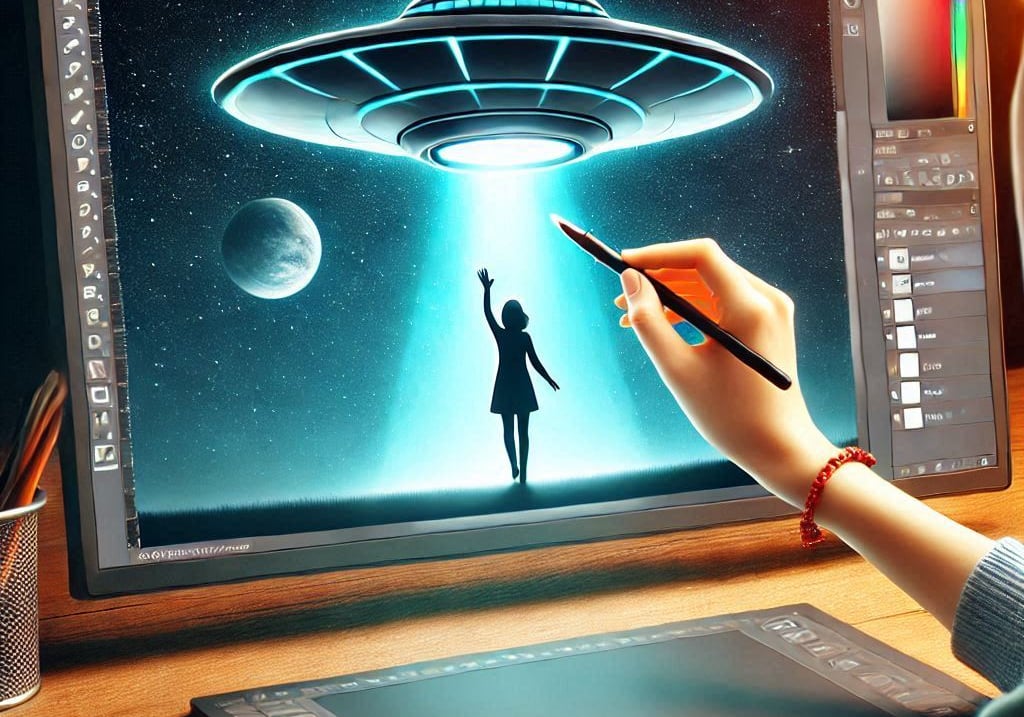
Let's dive into the world of CorelDraw and create a UFO light beam effect using non-destructive bitmap effects! Non-destructive effects means, you'll be able to add effects without permanently altering the original image. To create a UFO light beam, import your UFO image to CorelDraw Graphics Suite and draw a shape for the light beam using the Ellipse Tool. Convert this shape to a bitmap (Bitmaps > Convert to Bitmap). Apply effects like Gaussian Blur (Effects > Bitmap Effects) to soften edges and Lighting Effects to add glow. Adjust settings for desired intensity and blend the light beam using the Transparency Tool. This way, you can always tweak the effects without altering the original image. Save your work when satisfied! Here's a step-by-step guide to achieve it:
Step-by-Step Guide:
Open CorelDraw:
Launch the CorelDraw software on your computer.
Create a New Document:
In CorelDraw go to File > New to create a new document. Choose your preferred document size and resolution.
Import the UFO Image:
Go to File > Import and select the UFO image you want to work with. Click Import and then click on the canvas to place the image.
Add the Light Beam:
Select the Ellipse Tool from the toolbox on the left.
Draw an ellipse shape below the UFO, representing the light beam.
Adjust the size and position of the ellipse as needed.
Convert the Light Beam to Bitmap:
Select the ellipse shape.
Go to Bitmaps > Convert to Bitmap. In the dialog box, choose the desired resolution and color mode (usually RGB).
Apply Non-Destructive Bitmap Effects:
With the bitmap selected, go to Effects > Bitmap Effects.
Explore various effects like Gaussian Blur, Transparency, and Lighting Effects.
For a light beam effect, you might want to use Gaussian Blur to soften the edges and Lighting Effects to add a glow.
Adjust the Effects in CorelDraw:
When applying effects, use the dialog boxes to adjust settings like intensity, color, and direction.
Since the effects are non-destructive, you can always go back and tweak them without altering the original shape.
Blend the Light Beam:
Use the Transparency Tool to create a gradient transparency on the light beam, making it look more realistic.
Final Adjustments:
Position the light beam so that it appears to be emanating from the UFO.
Use the Pick Tool to move and resize the elements as needed.
Save Your Work in CorelDraw:
Once you're satisfied with the effect, save your work by going to File > Save As and choosing your preferred file format.
CorelDraw Non-Destructive Bitmap Effects Tips:
Experiment with different effects to achieve the desired look.
Remember that non-destructive editing allows you to make changes without losing the original image, so don't be afraid to try different settings.
And there you go! You've just created a UFO light beam effect using non-destructive bitmap effects in CorelDraw.
Watch this CorelDraw Tutorial Video below to understand this procedure even better.
