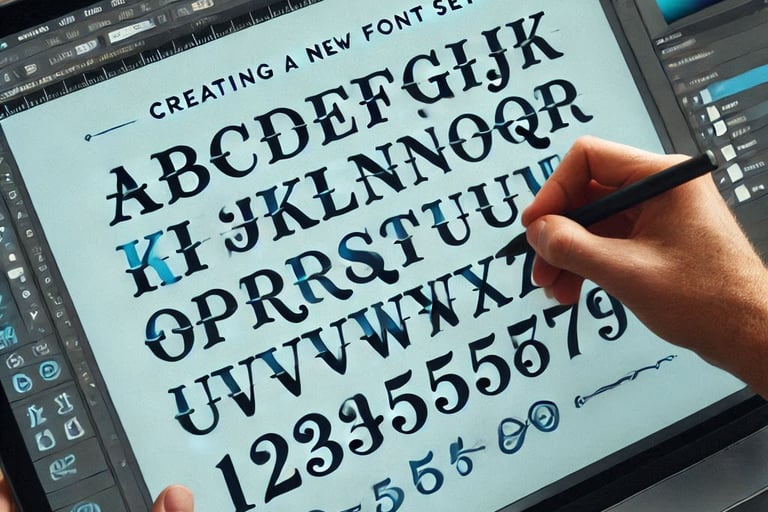
CorelDraw Typography Tool
Creating a TrueType Font Using CorelDraw Typography Tool

This Video Tutorial shows that there is no need to download Font, now you can make your own True Type Fonts and use them unrestricted using CorelDraw Typography Tools.
Creating a TrueType Font Using CorelDraw Typography Tool
Open CorelDraw: Launch CorelDraw on your computer or Laptop.
Create a New Document: Go to File > New and set up a new document with the desired dimensions.
Design Your Characters: Use the drawing tools to create your characters. You can start with basic shapes and then refine them to your liking.
Convert Text to Curves: For designing letters, type out the text using the Text Tool, then go to Text > Convert to Curves to turn the text into editable paths.
Edit the Characters: Use the Shape Tool to adjust the nodes, curves, and overall appearance of your characters. You can stretch, move, or distort the shapes as needed.
Add Effects: Enhance your characters by adding effects such as shadows, gradients, or outlines. Go to Effects > Filters to explore various options.
Save Your Characters: Save each character as a separate file. Go to File > Export and choose a format like SVG or PNG. The SVG format is a Scalable Vector Graphics which has a very small file size. Read more about Vector Graphics in CorelDraw.
Create a Font File: Use CorelDraw built-in Font Manager to compile your characters into a font file. Follow the software's instructions to import your saved character files and generate the font.

This Video Tutorial shows another way to create beautiful fonts.
Installing TrueType Font on Your Computer in CorelDraw
Download the Font File: Once your font file is created, download it to your computer.
Extract the Font File: If the font file is compressed in a .zip folder, right-click the folder and select Extract to unzip the files. If you don't have WinZip File Compression software installed in your PC, Laptop, Tab and Phone, then Visit_WinZip_Home_Page and Download WinZip from there.
Install the Font:
Windows: Right-click on the font file and select Install. If prompted, allow the program to make changes to your computer and click Yes. Your new font will appear in the fonts list in Word and other applications.
Mac: Double-click the font file and click Install Font. The font will be added to your system fonts.
Verify the Installation: Open a text editor or another design software to test your new font and make any necessary adjustments.

In this tutorial, you can see how to create a custom font/text for a logo design, by Converting to curves, so that you can distort the letters the way you want.
Additional Tips - Creating Fonts in CorelDraw Typography Tool
Use Guidelines and Grids: When designing your characters, use guidelines and grids to maintain consistent proportions and alignment across all characters.
Zoom In for Precision: Zoom in on your design to make detailed adjustments to nodes and curves. This ensures that each character looks smooth and professional.
Study Existing Fonts: Analyze existing fonts to understand their structure and design elements. This can give you inspiration and help you maintain a cohesive style.
Experiment with Styles: Don’t be afraid to experiment with different styles and effects. Try different line weights, serifs, and embellishments to see what works best for your font.
Keep It Simple: Especially if you're new to font design, start with simple and clean designs. Complex designs can be challenging to scale down and might not be as readable.
Test Consistently: Regularly test your characters as you design them. Type out words and sentences using the characters to see how they look together and make adjustments as needed.
Leverage Layers: Use layers to separate different elements of your design. This can make it easier to edit individual components without affecting the entire design.
Use Vector Shapes: Create characters using vector shapes to ensure they can be scaled without losing quality. This is crucial for maintaining crispness at different sizes.
Save Frequently: Save your work frequently to avoid losing progress. You can also save different versions of your design to revert back to an earlier stage if needed.
Seek Feedback: Share your font designs with others and seek feedback. This can provide valuable insights and help you improve your design.
Learn Keyboard Shortcuts: Familiarize yourself with CorelDraw keyboard shortcuts to speed up your workflow and make the design process more efficient.
Stay Organized: Keep your workspace organized by naming your layers and files clearly. This makes it easier to manage and navigate through your project.
With these tips, you'll be well on your way to creating stunning and professional fonts in CorelDraw. Enjoy designing New Fonts!


