Screen Printing, Offset Printing, and Plotting to Digital Printing, use CorelDraw
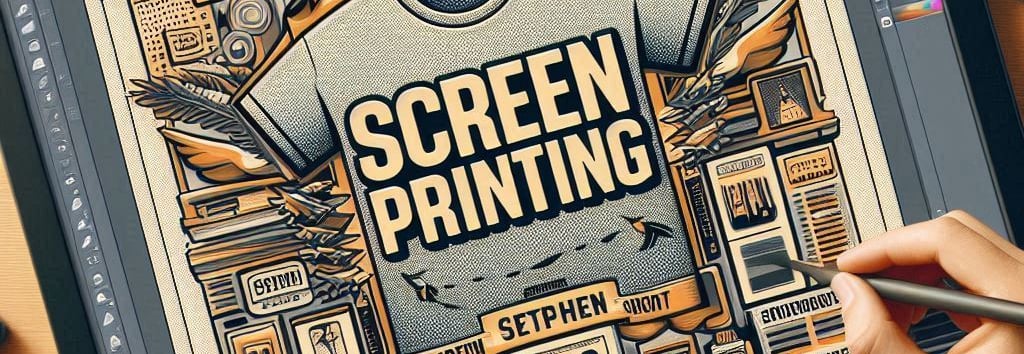
Screen Printing a T-Shirt in CorelDraw
To design a CorelDraw Screen Printing Project, start by setting up a new document with appropriate dimensions (e.g., 12x16 inches) in CMYK color mode. Create your design using CorelDraw drawing tools, importing images and organizing elements into layers. Convert raster images to vector graphics, and separate colors for screen printing. Now Download a T-shirt template to visualize your design on the shirt. Make necessary adjustments, save your project in .CDR format, and export the color-separated layers as high-resolution PNG or PDF files for screen creation and printing. Enjoy your custom T-shirt design! 🎨👕
CorelDraw Screen Printing Process
Designing a CorelDraw screen printing project for a T-shirt can be a fun and creative experience. Let's break down the process into simple steps:
1. Setting Up Your Workspace
Open CorelDraw: Download latest version of CorelDraw and install on your Computer. Launch CorelDRAW and create a new document.
Document Settings: Set the dimensions to match your T-shirt size. A typical T-shirt design size is 12x16 inches.
Color Mode: Use CMYK color mode for printing.
2. Creating Your Design in CorelDraw
Import Images to Screen Printing Project: If you have existing images or artwork, import them into CorelDraw Screen Printing Project.
Drawing Tools: Use the drawing tools in CorelDraw to create shapes, text, and other elements of your design.
Layers: Organize different elements of your design into layers in CorelDraw. This helps in managing complex designs.
3. Preparing for Screen Printing
Convert to Vectors for Screen Printing: If your design includes raster images (like photos), convert them to vector graphics using the Trace Bitmap tool.
Color Separation: For screen printing, you need to separate the colors in your design. Use the color separation feature in CorelDraw to create separate layers for each color because each color prints as a different screen.
Check for Overlaps: Ensure that there are no overlapping colors, as each color will be printed on a separate screen.
4. Creating a Mockup
T-Shirt Template: Download a T-shirt template and import it into your CorelDraw Screen Printing Project.
Place Your Design: Position your design on the T-shirt template to see how it will looks in CorelDraw.
Adjustments: Make any necessary adjustments to your Screen Printing design to ensure it fits well and looks good on the T-shirt.
5. Finalizing Your Design
Save Your Work: Save your project in CorelDraw format (.CDR) for future editing
Export Files: Export your color-separated layers as high-resolution PNG or PDF files. These will be used to create the screens for printing. If you are sending to a Printing vendor then export your files to a PDF format after converting everything to curves or a vector format.
6. Final Screen Printing
Screen Creation: Use your exported files to create screens for each color. Follow the Screen Printing process to transfer your design onto the T-shirt.
By following these steps, you'll have a well-prepared CorelDraw project for Screen Printing a T-shirt design. 🎨👕
Watch this CorelDraw Screen Printing Tutorial Video to understand the process better.

Common Challenges in Screen Printing Designs
Screen Printing can be an exciting but equally a challenging process. Here are some common challenges encountered during Screen Printing Designs:
Color Separation: Ensuring accurate separation of colors for each screen can be tricky, especially with complex screen printing designs.
Ink Consistency: Maintaining consistent ink viscosity and coverage to avoid blotches or uneven prints another challenge in Screen Printing Designs.
Screen Alignment: Achieving precise alignment of screens to prevent registration issues, where colors overlap incorrectly is also a common challenge in screen printing.
Detail Reproduction: Fine details might get lost during Screen Printing, especially on coarse mesh screens.
Fabric Choice: During Screen Printing, different fabrics absorb ink differently, affecting print quality and durability.
Drying & Curing: Proper drying and curing of prints to ensure ink adhesion and prevent smudging or fading is very important in screen printing process.
By being aware of these challenges and taking proactive steps, you can improve your screen printing results significantly!
Best Practices for Screen Printing in CorelDraw
Designing for Screen Printing involves some specific techniques to ensure the best possible results. Here are some best practices:
Simplify Design: Use bold lines, simple shapes, and minimal colors to ensure a clean print. Avoid intricate details that may not translate well.
Use Vector Graphics: Design in vector format for scalability and sharpness in CorelDraw.
Color Separation: Plan your design with color separation in mind in CorelDraw. Limit the number of colors being used to reduce complexity and costs. The more the color, the more the cost of screen printing.
Optimize Text: Choose fonts that are clear and legible. Avoid very thin or small text that may not print well.
Mind the Mesh: Choose the appropriate screen mesh for your design. Finer details require a higher mesh count.
Adjust for Fabric: Consider the fabric type. Different fabrics absorb ink differently; use appropriate inks and techniques.
Proof Your Work: Always create a mockup to see how the design will look on the actual T-shirt. Make necessary adjustments before printing.
Test Prints: Do test prints to check for any issues and make final adjustments.
By following these best practices, you can achieve high-quality screen-printed designs that look great and last long!
What Colors Work Best for Screen Printing in CorelDraw?
When it comes to screen printing in CorelDraw, some colors tend to work better than others due to their vibrancy and opacity. Here are some color tips for screen printing:
Bold Colors: Bright, bold colors like red, blue, green, and yellow tend to print well and stand out in Screen Printing.
Contrast: High-contrast colors (e.g., black on white or white on black) create striking Screen Printing designs with clear visibility.
Opaque Inks: Use opaque inks to ensure colors are vibrant and don't get muted by the fabric's color during Screen Printing.
Fluorescent Colors: In Screen Printing, Fluorescent or neon inks can add a pop of brightness and are eye-catching.
Metallic Inks: Metallic inks (e.g., gold, silver) can give a unique and premium look to your Screen Printing designs.
Underbase: For Screen Printing on dark fabrics, using a white underbase layer helps colors appear more vivid.
By choosing the right colors and inks, you can create stunning screen-printed designs that truly stand out. 🎨👕