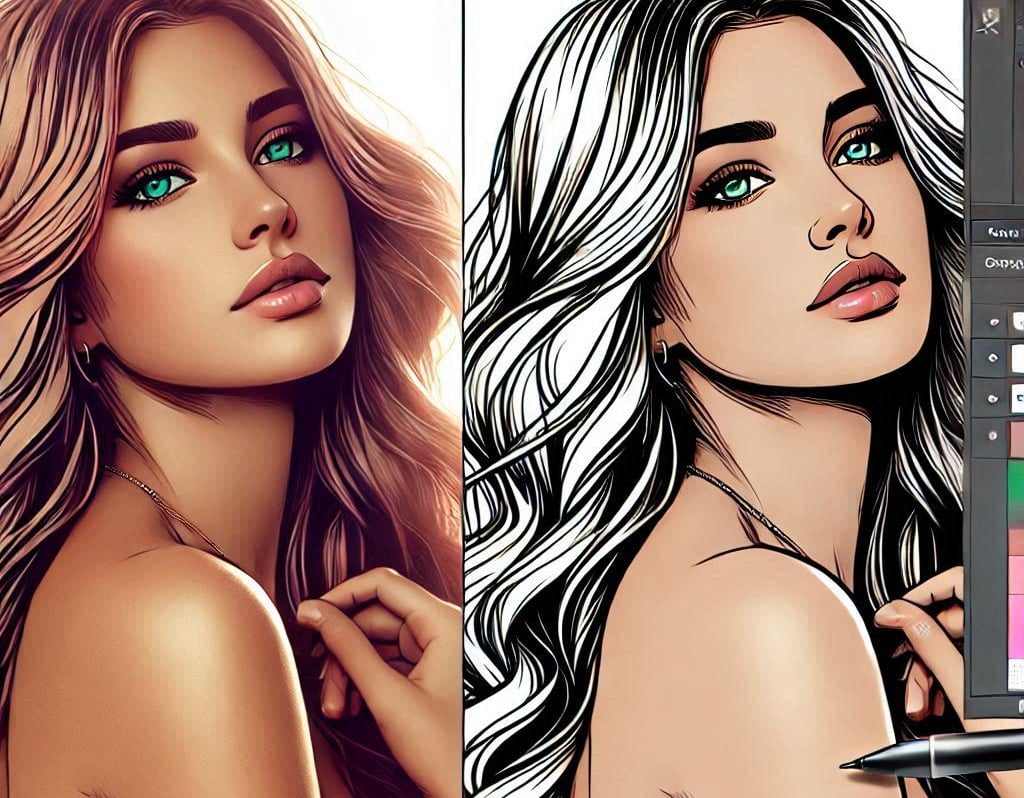
How to Convert JPG to SVG in CorelDraw
Learn how to convert JPG to SVG image to Scalable Vector Graphics in CorelDraw. Follow our step-by-step guide to use the PowerTrace feature for effective vectorization. Save your work in .cdr or .svg format for high-quality results.
CORELDRAW TUTORIAL
3 min read
How to Convert a JPG t40o SVG (Scalable Vector Graphics) in CorelDraw
Converting a JPG to an SVG image or a Scalable Vector Graphics image is very simple and easy to do in CorelDraw_Graphics_Suite To do this, open CorelDraw and import your JPG file. Select the image, then navigate to "Bitmap" on the toolbar and choose "Outline Trace" followed by "Detailed Logo" or a similar tracing option. This action opens the PowerTRACE window, where you can adjust the settings to refine the vectorization. Click "OK" to apply the trace. Ungroup the vector objects if necessary for further editing. Finally, save your work in a vector format such as .CDR or .SVG, ensuring the image is scalable without loss of quality.
Converting a JPG Image to Vector Graphics: Step by Step CorelDraw Tutorial JPG to SVG
Converting a JPG (raster image) to a vector image in CorelDraw involves a process called tracing. CorelDraw has a built-in tool called PowerTRACE that allows you to convert raster images into vector graphics. Below is a detailed step-by-step CorelDraw tutorial to help you convert a JPG Image to vector Graphics.
Step 1: Open CorelDraw
Download CorelDraw and Launch CorelDraw on your computer.
Create a new document or open an existing one where you want to work.
Step 2: Import the JPG Image
Go to File > Import (or press Ctrl + I).
Browse to the location of your JPG file, select it, and click Import.
Click and drag on the canvas to place the image at your desired size.
Step 3: Select the Image
Use the Pick Tool (shortcut: Spacebar or F10) to select the JPG image on the canvas.
Step 4: Trace the Image Using PowerTRACE
With the image selected, go to the Bitmap menu at the top of the screen.
Choose Outline Trace and select the appropriate tracing option based on the type of image you’re working with. For example:
Line Art: For simple black-and-white images or sketches.
Logo: For images with few colors and sharp edges.
Detailed Logo: For more complex logos with gradients or details.
Clipart: For images with multiple colors and shapes.
Low Quality Image: For low-resolution images.
High Quality Image: For high-resolution images.
Alternatively, you can select Quick Trace for a faster, automatic tracing process.
Step 5: Adjust Tracing Settings in PowerTRACE
After selecting a tracing option, the PowerTRACE window will open.
In the PowerTRACE window, you’ll see a preview of the vectorized image on the left and the original raster image on the right.
Use the following settings to refine the tracing:
Detail: Adjust the level of detail in the traced image.
Smoothing: Control how smooth the curves and edges are.
Corner Smoothness: Adjust the sharpness of corners.
Delete Original Image: Check this box if you want to remove the original JPG after tracing.
Remove Background: Use this option to eliminate the background if needed.
Merge Adjacent Colors: Combine similar colors to reduce complexity.
Experiment with the settings until you achieve the desired result.
Click OK to apply the tracing.
Step 6: Edit the Vector Image
Once the tracing is complete, the JPG will be converted into a vector image composed of shapes and paths.
Use the Shape Tool (shortcut: F10) to edit individual nodes and curves if needed.
You can also ungroup the vector objects (right-click > Ungroup) to edit specific elements separately.
Step 7: Save the Vector Image
Go to File > Save As (or press Ctrl + Shift + S).
Choose a vector file format such as:
CDR (CorelDraw native format)
AI (Adobe Illustrator)
EPS (Encapsulated PostScript)
SVG (Scalable Vector Graphics)
Name your file, select the desired location, and click Save.
Tips for Better Results
High-Quality Source Image: Start with a high-resolution JPG for better tracing results.
Simplify Colors: If the image has too many colors, consider simplifying it in an image editor before tracing.
Manual Adjustments: After tracing, manually refine the vector image using CorelDraw tools for precision.
By following these steps, you can successfully convert a JPG to a vector image in CorelDraw. The PowerTRACE tool is powerful and versatile, allowing you to create clean, scalable vector graphics from raster images. Watch this CorelDraw Video Tutorial below.

Watch this excellent CorelDraw Video Tutorial on how to Convert a JPG image to a Scalable Vector Graphics.