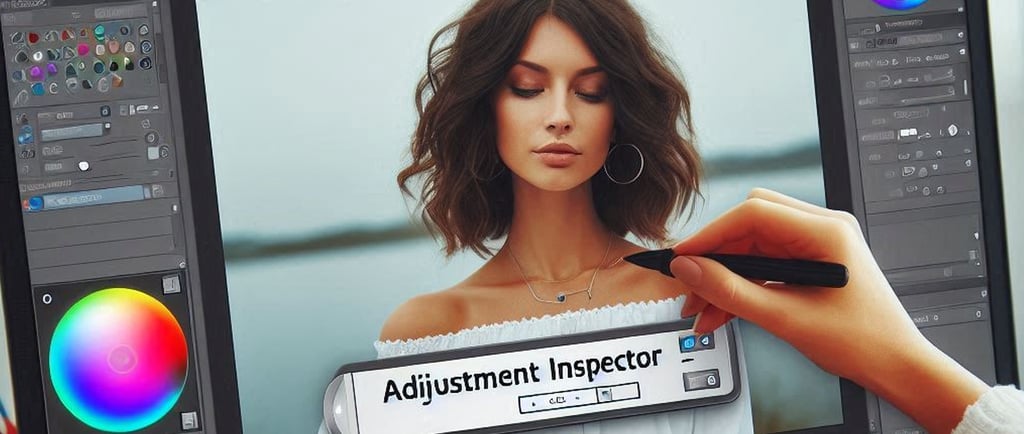
Master Corel Photo-Paint Adjustment Inspector
Discover how to effectively use Corel Photo-Paint's Adjustment Inspector for photo editing. Learn to enhance your images with precise control over brightness, contrast, and color balance. Unlock the potential of your photos with intuitive tools that streamline your editing workflow.
COREL PHOTO-PAINT TUTORIAL
2 min read


How to Use Corel Photo-Paint Adjustment Inspector
Corel PHOTO-PAINT is a photo-editing software that comes as part of the CorelDRAW_Graphics_Suite. It's designed for tasks such as photo retouching, enhancement, and bitmap creation. It offers a range of tools for adjusting images, applying effects, and correcting color. Unlock the full potential of your photos with Corel PHOTO-PAINT's powerful Adjustment Inspector! Elevate your editing game with intuitive tools for precise control over brightness, contrast, color balance, and more. The Adjustment Inspector streamlines your workflow, allowing you to make quick, effective enhancements with just a few clicks. Whether you're a professional photographer or an aspiring artist, Corel PHOTO-PAINT's Adjustment Inspector ensures your images look stunning, every time. Don't settle for ordinary—experience extraordinary photo editing today with Corel PHOTO-PAINT!
Step by Step Guide to Use Adjustment Inspector in Corel Photo-Paint
Here's a step-by-step guide on how to use the Adjustment Inspector in Corel PHOTO-PAINT :-
Step 1: Open Corel PHOTO-PAINT
Open CorelDraw: Download CorelDraw Graphics Suite. Install CorelDraw in your Computer and launch CorelDraw.
Go to the File Menu: In CorelDraw Click on the "File" menu at the top left corner of the screen.
Select Corel PHOTO-PAINT: Hover over "Open" and then select "Corel PHOTO-PAINT" from the dropdown menu.
Alternatively, you can use the keyboard shortcut Ctrl + Shift + P to quickly open Corel PHOTO-PAINT
Step 2: Access the Adjustment Inspector
Open the Adjustment Inspector: Go to Window > Inspectors > Adjustments.
Adjustment Inspector Interface: You'll see a panel in the CorelDraw Photo-Paint Adjustment Inspector, with various adjustment options like Light, White Balance, and Histogram.
Step 3: Apply Basic Adjustments in Adjustment Inspector
Light Adjustment: Use the sliders to adjust brightness, contrast, and gamma in the Corel Photo-Paint Adjustment Inspector.
White Balance: It is possible to Adjust the temperature and tint to correct color casts in Adjustment Inspector.
Histogram: Use the histogram to evaluate and adjust the tonal range of your image. Histogram is a default setting in Corel Photo-Paint and cannot be removed.
Step 4: Add More Adjustments
Add Adjustments: Click the Add Adjustment button in the Corel Photo-Paint Adjustment Inspector and choose additional adjustments like HSL (Hue/Saturation/Lightness), Tone Curve, and more.
Adjust Settings: Use the sliders to fine-tune each adjustment in the Corel Photo-Paint Adjustment Inspector as you desire.
Step 5: Use Local Adjustment Mode
Activate Local Adjustment Inspector Mode in CorelDraw: Click the Local Adjustment Mode button the Adjustment Inspector in Corel Photo-Paint.
Apply Adjustments to Specific Areas: Use the Brush Mask tool to paint over areas where you want to apply adjustments in Corel Photo-Paint Adjustment Inspector.
Fine-Tune Mask: In the Corel Photo-Paint Adjustment Inspector, you can Adjust the mask to ensure the adjustments are applied only to the desired areas.
Step 6: Save and Apply Adjustments
Toggle Adjustments in Corel Photo-Paint: Click the checkboxes to show or hide adjustments in the Adjustment Inspector.
Reset Adjustments: Click the Reset button to revert to default settings of Adjustment Inspector in Corel Photo-Paint.
Apply Adjustments: Once satisfied, click Apply to make the adjustments permanent in Adjustment Inspector in CorelDraw Corel Photo-Paint.
Step 7: Save Your Work
Save Your Edited Image in CorelDraw: In CorelDraw Corel Photo-Paint, Go to File > Save As and choose your preferred file format.
And that's it! You've successfully used the Adjustment Inspector in Corel PHOTO-PAINT to enhance your photo. To understand the process better Watch this CorelDraw Video Tutorial.

