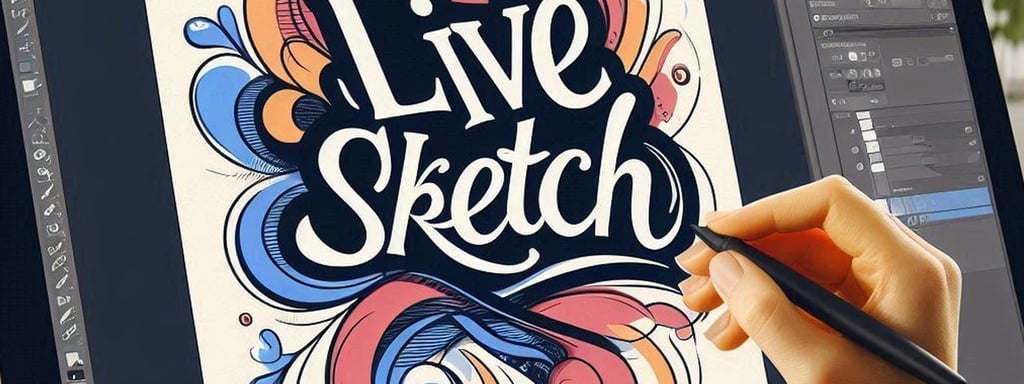
How to Use CorelDraw Live Sketch Tool
Discover the power of the CorelDraw Live Sketch Tool, designed for artists and professionals. Transform your ideas into stunning visuals with intuitive curves and vibrant colors. Perfect for illustrations
CORELDRAW TUTORIAL
2 min read


CorelDraw Live Sketch Tool
Unleash your creativity with CorelDraw, the ultimate design software for artists and professionals alike! Embrace the power of the Live Sketch Tool in CorelDraw and watch your ideas come to life in real-time. With intuitive curves and vibrant colors, every stroke is captured as you draw, giving you a natural and fluid sketching experience. Perfect for illustrators, graphic designers, and anyone with a passion for art, CorelDRAW makes it easier than ever to turn your vision into reality. Don’t just draw, create masterpieces with CorelDraw - where inspiration meets innovation.
How to Use CorelDraw Live Sketch Tool
Here’s a step-by-step guide on how to use the CorelDraw Live Sketch Tool, along with some best practices and tips for better usage:
Step-by-Step Guide to Using the Live Sketch Tool
Open CorelDraw: Launch CorelDraw and create a new document or open an existing one.
Select the Live Sketch Tool: You can find the Live Sketch Tool in the toolbox in CorelDraw on the left side of the screen. It looks like a pencil icon.
Adjust Settings: Before you start sketching, you can adjust the settings of the Live Sketch Tool. Go to the Tool Options docker in CorelDraw and set the delay time for stroke adjustment. This determines how quickly your strokes are converted into curves.
Start Sketching: Use your mouse or a stylus to draw on the canvas in CorelDraw. As you draw, CorelDraw will analyze your strokes and convert them into vector curves in real-time.
Modify Strokes: You can modify your strokes in CorelDraw before they are adjusted by moving your cursor over the strokes. This allows you to refine the curves as needed.
Combine Strokes: If you want to combine multiple strokes into a single curve, set a longer delay time and let CorelDraw merge the strokes for you.
Erase Strokes: If you make a mistake, you can erase individual strokes in CorelDraw before they are adjusted.
Save Your Work: Once you’re satisfied with your sketch, save your document in CorelDraw.
Best Practices and Tips for Using CorelDraw Live Sketch Tool
Use a Stylus: For a more natural drawing experience, use a stylus on a tablet. This will give you better control and precision when working in CorelDraw.
Customize CorelDraw Settings: Experiment with the delay time to find a setting that matches your sketching speed in CorelDraw. A shorter delay time is good for quick sketches, while a longer delay time allows for more detailed adjustments.
Practice Regularly: The more you use the CorelDraw Live Sketch Tool, the more comfortable you’ll become with it. Practice regularly to improve your skills.
Combine with Other Tools: Don’t hesitate to use other tools in CorelDraw to enhance your sketches. You can add colors, effects, and other elements to your vector drawings.
Keep It Simple: Start with simple sketches and gradually move to more complex designs. This will help you get a feel for how the tool works and how to best utilize it.
By following these steps and tips, you’ll be able to make the most out of the Live Sketch Tool in CorelDraw and create stunning vector illustrations with ease. Happy sketching!
Watch this CorelDraw Tutorial Video to understand the CorelDraw Live Sketch Tool better.

